
The Mitsubishi TRUZA0121KA70NA is a high-efficiency air conditioner designed for optimal performance and energy savings. Proper installation ensures safety, efficiency, and reliable operation, as outlined in this manual.
1.1 Overview of the Mitsubishi TRUZA0121KA70NA Air Conditioner
The Mitsubishi TRUZA0121KA70NA is a high-efficiency, R410A refrigerant-based air conditioner designed for superior cooling performance. Its compact design and advanced inverter technology ensure energy savings and quiet operation. Suitable for various spaces, including homes, offices, and commercial areas, this unit offers smart control options like the Kumo Cloud app for remote access. Proper installation and maintenance are crucial to maximize its efficiency and lifespan, as detailed in this manual.
1.2 Importance of Proper Installation
Proper installation of the Mitsubishi TRUZA0121KA70NA is critical to ensure safety, efficiency, and optimal performance. Improper installation can lead to safety hazards, reduced efficiency, and potential system failure. Adhering to the installation manual ensures compliance with safety standards and manufacturer guidelines. Only a qualified technician should perform the installation to avoid risks such as refrigerant leaks or electrical issues. Proper installation also maintains the unit’s warranty and ensures long-term reliability. Always follow the manual’s instructions precisely.
Safety Precautions
Always follow safety guidelines when handling refrigerants, electrical components, and tools. Proper safety measures prevent accidents, injuries, and system damage during installation and maintenance.
2.1 General Safety Guidelines
Always follow the installation manual and use tools designed for R410A refrigerant. Improper installation can lead to water leakage, electric shock, or fire. Ensure all wiring is performed by qualified personnel and comply with National Electrical Codes. Proper installation and grounding are crucial for safety and efficiency. Refer to the manual for detailed guidelines to avoid hazards and ensure reliable operation of the Mitsubishi TRUZA0121KA70NA system.
2.2 Handling Refrigerants Safely
When handling R410A refrigerant, ensure proper safety measures are in place. Wear protective gear and use tools designed for pressurized systems to avoid injury. Refrigerant lines should be handled carefully to prevent damage and leaks. Follow all safety protocols to minimize exposure risks and ensure compliance with environmental regulations. Proper handling is critical for system performance and safety during installation and operation of the Mitsubishi TRUZA0121KA70NA air conditioner.
2.3 Electrical Safety Measures
Ensure all electrical connections comply with local and national codes. Use appropriate wiring and components rated for R410A systems. Disconnect power before servicing to prevent electrical shocks or fires. Ground the system properly to maintain safety and efficiency. Always follow the installation manual’s guidelines for wiring and electrical work to ensure safe and reliable operation of the Mitsubishi TRUZA0121KA70NA air conditioner.
Pre-Installation Preparation
Verify all components, tools, and materials are available. Ensure the site meets installation requirements and is clear of obstacles. Follow the manual for proper preparation.
3.1 Identifying System Components
Identify and verify all system components, including the indoor and outdoor units, refrigerant lines, drain piping, and wiring. Familiarize yourself with the installation plate, mounting hardware, and accessories. Ensure all parts are compatible with the TRUZA0121KA70NA model. Proper identification is crucial for correct installation and operation, as outlined in the manual. Cross-reference each component with the provided diagrams and specifications for accuracy.
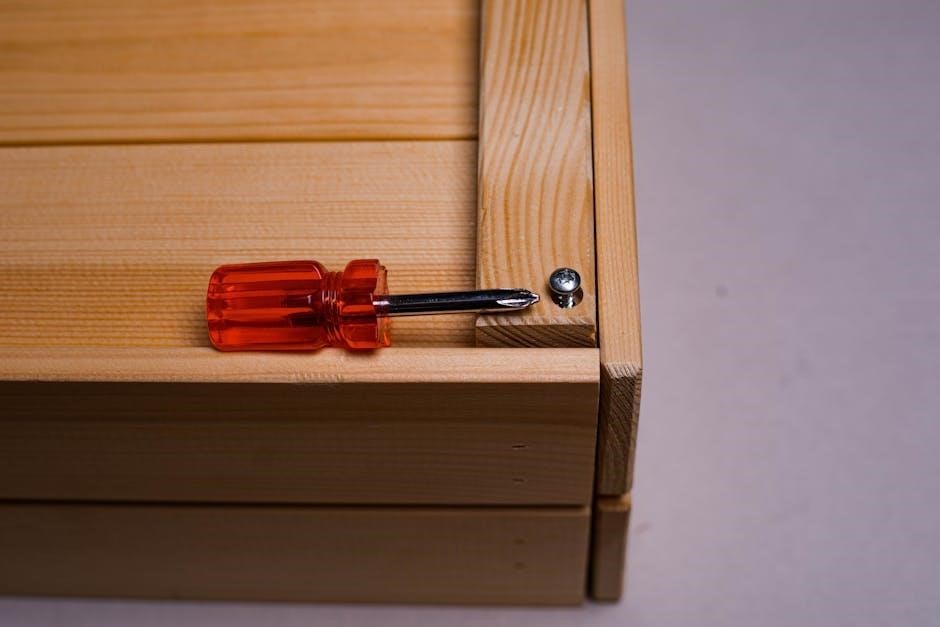
3.2 Necessary Tools and Materials
Gather essential tools: drill, screwdrivers, wrenches, and tubing cutters. Required materials include insulation, refrigerant line connectors, drain hoses, and mounting brackets. Ensure all tools are compatible with R410A systems. Refer to the manufacturer’s guidelines for specific requirements. Proper tools and materials ensure a safe and efficient installation process, as detailed in the manual. Verify all items are available before starting the installation to avoid delays.
3.3 Site Preparation and Requirements
Ensure the installation site is level and well-ventilated. Verify the area is clear of obstructions and flammable materials. Check for adequate electrical supply and grounding as per NEC standards. Ensure proper drainage for condensate water. Confirm the location adheres to local building codes and manufacturer recommendations. Prepare the wall for mounting brackets, ensuring studs are accessible. Ensure all safety precautions are in place before commencing the installation process to avoid potential hazards and ensure compliance with regulations.
Installing the Outdoor Unit
Installing the outdoor unit requires a level surface and secure mounting to ensure proper operation. Follow manufacturer guidelines for placement, ensuring safety and efficiency.
4.1 Location and Placement Guidelines
The outdoor unit should be installed on a firm, level surface, ensuring good airflow and drainage. Avoid direct sunlight and flammable materials. Placement must comply with local electrical codes and manufacturer instructions to prevent water leakage or fire hazards. Ensure proper clearance for maintenance and operation. Use studs for secure mounting, and follow guidelines for piping and wiring connections to optimize performance and safety.
4.2 Mounting the Outdoor Unit
Mount the outdoor unit on a sturdy wall or ground base using screws and brackets provided. Ensure the surface is level and secure to prevent vibration. Attach the installation plate to a stud for stability. Connect electrical wiring as specified in the manual, ensuring proper grounding. Double-check all connections and tighten screws firmly. Follow manufacturer guidelines for bracket installation to maintain balance and prevent damage during operation.
4.3 Securing the Unit
Secure the outdoor unit by tightening all screws and ensuring stability. Use wire clamps to fasten electrical connections, preventing loose wires. Verify the unit is level and properly aligned on the installation plate; Follow NEC guidelines and local codes for grounding and connections. Double-check all fasteners and ensure the unit is firmly attached to prevent vibration or movement during operation. Proper securing ensures safe and efficient performance.
Installing the Indoor Unit
Mount the indoor unit securely on a level surface, ensuring proper alignment and clearance. Follow the installation manual for precise steps to achieve optimal performance and safety.
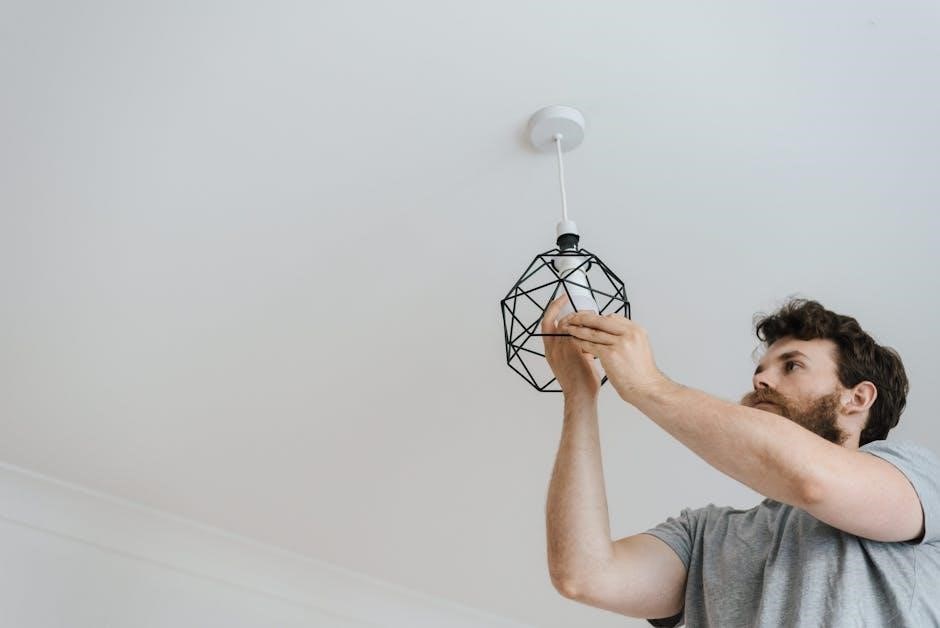
5.1 Choosing the Installation Location
Ensure the indoor unit is installed in a location with proper drainage, adequate airflow, and minimal exposure to direct sunlight. Avoid areas where condensate water may cause damage. The unit should be positioned on a level surface, away from direct sunlight, and not near heating vents or radiators. Follow the installation manual’s guidelines for optimal placement to ensure efficient operation and even air distribution throughout the room.
5.2 Mounting the Indoor Unit
Mount the indoor unit securely on a level surface using the provided installation plate. Ensure the unit is attached to a sturdy wall stud to support its weight. Use the screws and brackets provided in the installation kit to fasten the unit firmly. Check the unit for levelness and tighten all screws properly to prevent vibration and noise during operation. Follow the manufacturer’s guidelines for proper mounting to ensure safe and efficient performance.
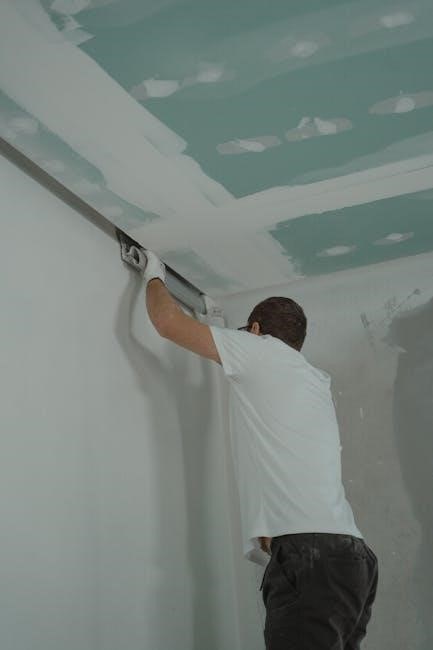
5.3 Drilling and Ductwork
Precise drilling is required for refrigerant lines and drain pipes. Use a level to ensure straight alignment and avoid damaging surrounding structures. Seal all drilled holes with appropriate materials to prevent air leaks. Route ducts securely to maintain proper airflow and insulation. Follow manufacturer guidelines for duct sizing and routing to optimize system performance. Double-check all connections for tightness and ensure no obstructions are present in the ductwork. Proper sealing prevents energy loss and ensures efficient operation.

Wiring Connections
Connect power supply and wiring between indoor and outdoor units as per the manual. Ensure proper wire sizing and secure connections to avoid electrical issues and ensure safe operation.
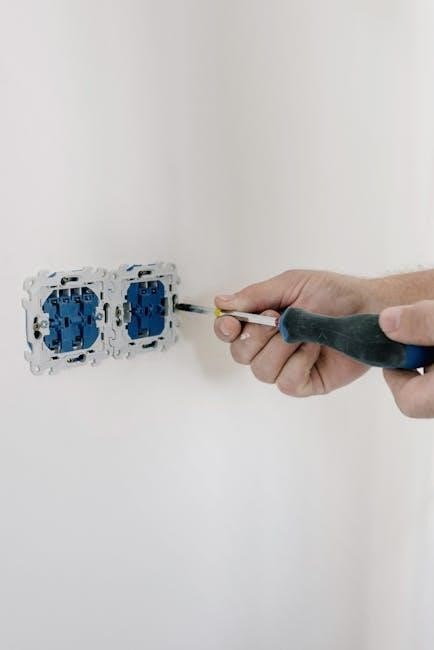
6.1 Connecting Power Supply
Connect the power supply to the outdoor unit following the installation manual. Use appropriately sized wires to ensure safe and efficient operation. Secure the power cord with a wire clamp, adhering to NEC and local electrical codes. Ensure the circuit is dedicated and rated correctly for the unit’s power requirements, as specified in the manual. Proper connections prevent electrical hazards and ensure reliable performance. Always follow safety guidelines and manufacturer instructions for wiring.
6.2 Wiring the Indoor and Outdoor Units
Connect the indoor and outdoor units by following the wiring diagram in the installation manual. Ensure the wires match the specifications and are properly insulated. Secure all connections tightly to maintain communication between units. Use the correct wire sizes as recommended for R410A systems. Turn off power before starting work and verify connections comply with NEC and local codes. Proper wiring ensures efficient operation and prevents electrical hazards. Always refer to the manual for specific guidelines.
6.3 Testing Electrical Connections
After wiring, test all electrical connections to ensure proper functionality. Use a multimeter to verify voltage and resistance, and check for short circuits; Ensure all connections are secure and meet NEC standards. Turn off power before testing and refer to the installation manual for specific guidelines. Proper testing ensures safe and efficient system operation, preventing potential electrical hazards or performance issues. Always verify connections comply with local and national codes.
Piping Connections
Proper piping connections are crucial for efficient and safe operation. Ensure all refrigerant lines are securely connected and insulated to prevent leaks and maintain performance. Follow manual guidelines for correct piping procedures to avoid system damage or refrigerant leakage, ensuring optimal cooling and heating functionality as intended by the manufacturer;
7.1 Preparing the Piping
Properly prepare the piping before installation to ensure a secure and efficient connection. Inspect the pipes for damage or debris and clean them thoroughly. Use the correct tools and materials compatible with R410A refrigerant to avoid contamination. Measure and cut the pipes accurately, ensuring proper sizing for the system. Follow the manufacturer’s guidelines for flaring and bending to maintain integrity. Proper preparation prevents leaks and ensures optimal system performance. Always refer to the installation manual for specific instructions.
7.2 Connecting the Refrigerant Lines
Connect the refrigerant lines carefully to ensure a leak-free and efficient system. Inspect the lines for damage and clean them before installation. Use the correct tools and follow the manufacturer’s instructions for tightening connections. Ensure the lines are properly insulated and secured to prevent vibration. Refer to the manual for specific torque values and connection procedures. Proper alignment and sealing are crucial to maintain system performance and prevent refrigerant leaks. Always follow safety guidelines when handling refrigerants.
7.3 Insulating the Pipes
Proper insulation of the refrigerant pipes is essential to minimize energy loss and prevent moisture accumulation. Use high-quality foam insulation or specialized sleeves designed for HVAC systems. Ensure the insulation covers the entire length of the pipes, including bends and joints. Secure the insulation with tape or clips to prevent shifting. Properly insulated pipes maintain system efficiency, reduce condensation, and protect against environmental factors. Follow the manufacturer’s recommendations for insulation materials and application methods.

Testing and Commissioning
After installation, power on the system, check for leaks, and verify proper operation. Ensure all functions perform as specified for optimal efficiency and safety.
8.1 Powering On the System
After completing the installation, turn on the power supply to both indoor and outdoor units. Ensure all electrical connections are secure and properly configured. Allow the system to initialize and check for any leaks in the refrigerant lines. Verify that the system operates quietly and efficiently, adhering to the guidelines outlined in the installation manual. Monitor the system’s performance to ensure it meets the specified standards and functions as intended.
8.2 Checking for Leaks
After powering on the system, inspect all refrigerant lines and connections for leaks. Use a soap solution or electronic leak detector to identify any escaping refrigerant. Ensure all joints, valves, and piping connections are secure and properly sealed. Any leaks must be addressed immediately to prevent system performance issues and potential safety hazards. Refer to the installation manual for detailed leak-checking procedures and ensure compliance with safety guidelines.
8.3 Testing System Operation
After ensuring no leaks, power on the system and test operation using the remote controller. Verify cooling and heating modes, checking airflow and temperature settings. Ensure the thermostat operates accurately and all features function as intended. Refer to the installation manual for specific operational tests and adjustments. Proper system operation ensures efficiency and comfort, confirming successful installation and setup.
Maintenance and Troubleshooting
Regular maintenance ensures optimal performance and extends system lifespan. Troubleshooting common issues like leaks or airflow problems helps maintain efficiency and reliability.
9.1 Regular Maintenance Tasks
Regular maintenance is essential to ensure optimal performance and longevity of the TRUZA0121KA70NA system. Clean or replace air filters monthly to maintain airflow and efficiency. Inspect and clean the outdoor unit’s condenser coils annually to prevent dust buildup. Check refrigerant levels and ensure proper drainage to avoid water damage. Verify electrical connections and wiring for safety and performance. Schedule professional servicing every 6-12 months for detailed system checks and repairs. Proper upkeep prevents issues and ensures reliable operation.
9.2 Common Issues and Solutions
Common issues with the TRUZA0121KA70NA include insufficient cooling, which can be resolved by cleaning or replacing air filters. Leaks in refrigerant lines should be promptly repaired to maintain efficiency. Electrical issues, such as faulty wiring, require checking connections and ensuring proper power supply. Drainage problems can be addressed by inspecting and clearing drain pipes. Unusual noises may indicate loose parts or debris, which should be tightened or removed. Regular maintenance helps prevent these issues.
9.3 When to Call a Professional
Call a professional if you encounter complex issues like refrigerant leaks, electrical malfunctions, or system incompatibility. DIY attempts on such problems can lead to safety hazards or further damage. Additionally, if the system requires advanced troubleshooting or specialized tools, seek expert assistance. Professionals can ensure compliance with safety standards and manufacturer guidelines, guaranteeing optimal performance and longevity of the TRUZA0121KA70NA air conditioner.